
Most print problems start long before the file reaches the printer. A picture looks crisp on a monitor and soft on paper, because a screen asks for nothing and paper asks for pixels. Image size for print is easy to work out, though, and it takes one division. What follows is the arithmetic we use when customers ask which of our five file sizes to buy, with the numbers already filled in.
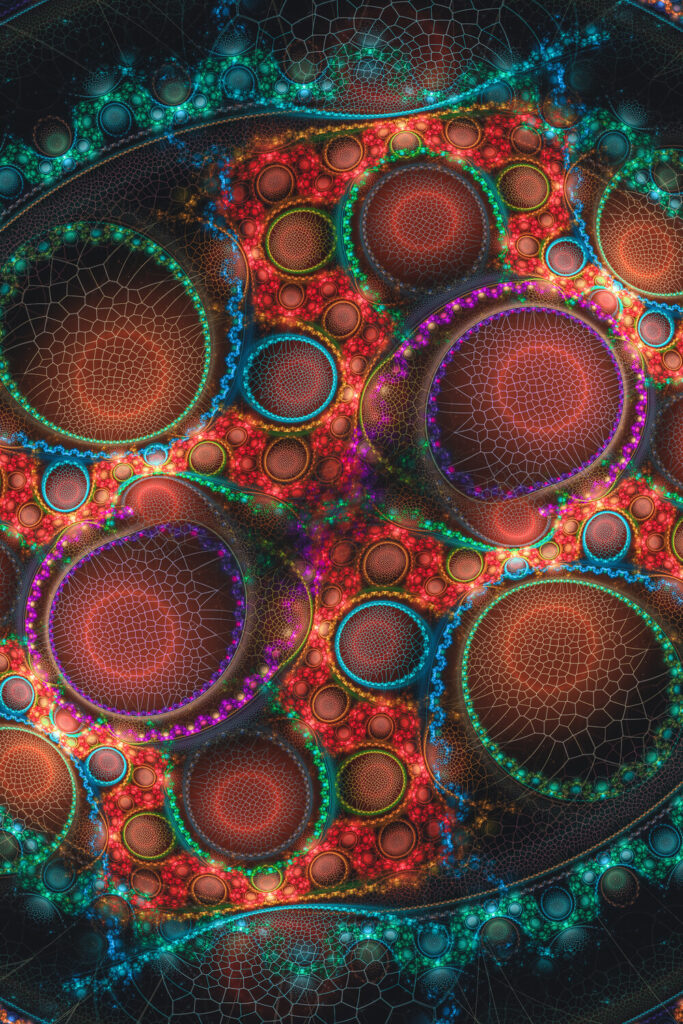
If you only remember one thing, remember this: a file does not have a fixed print size. It has a number of pixels, and the paper decides how tightly they are packed.
What image size for print actually means
Printers do not measure pictures in centimetres. They measure how many pixels fall into every inch of paper, and that ratio is the pixels per inch value, usually written ppi. The higher the value, the more detail the paper can hold.
A file at 300 ppi looks continuous at reading distance. A file at 100 ppi shows a staircase on every edge, and the eye finds it immediately. The 300 ppi figure is a convention rather than a law; it is the density at which halftone printing stops being visible to most people, and it has survived because it works. The background is described on the dots per inch reference page for anyone who wants the history.
Because ppi is a ratio, the same file prints at several sizes. A 4500 pixel image covers 38 cm when packed at 300 ppi, and 76 cm when spread over 150 ppi. Nothing about the image changes. Only the density does.
The formula behind image size for print
Take the number of pixels on the long edge and divide it by the ppi you intend to print at. The result is the print size in inches. Multiply by 2.54 to get centimetres.
The whole of image size for print comes down to this division. Two examples, using files from our shop. A 2500 pixel image divided by 300 gives 8.3 inches, which is about 21 cm. A 900 pixel image divided by 300 gives 3 inches, or 7.6 cm. Same formula, very different results, and both correct.
Work backwards when you already know the wall or the page. A poster 50 cm wide needs roughly 5900 pixels at 300 ppi, but only 2950 pixels at 150 ppi. That is why the same picture can be a bargain or a disappointment depending on where it is going. Image files for screens follow a similar logic but a different target, which the guide to choosing an image format explains well.
What our five sizes print at
Our fractals come in five levels, and each one has a different amount of headroom. The numbers below assume no cropping, since cropping always costs pixels.
- 900 px — 7.6 cm at 300 ppi, 15 cm at 150 ppi. Screen work, mock-ups, small handouts.
- 2500 px — 21 cm at 300 ppi, 42 cm at 150 ppi. A4 and A3 prints, brochures, menu covers.
- 4500 px — 38 cm at 300 ppi, 76 cm at 150 ppi. Posters, framed art, book jackets.
- Full size — the master file, between 4500 and 9000 pixels. Up to 76 cm at 300 ppi, over 1.5 m at 150 ppi.
- Extended full size — the same master, with print runs and team use lifted.
The 4500 pixel licence is the usual answer for a poster, and the full-size file is the safe one for anything bigger than a metre. Sizes, prices and what each level permits sit together on the licensing page.
When 300 ppi is overkill
Posters on a wall are read from a metre away, and billboards from several. Large-format printers therefore ask for 150 ppi, sometimes only 100, and they are right to. Packing 300 ppi into a two-metre banner produces a gigantic file that nobody can look at closely enough to justify.
The same logic runs in reverse indoors. A framed print at arm’s length deserves every pixel you can give it, because the viewer will put their nose against the glass. So density is a question about viewing distance, not about a universal number. Decide the distance first, then the size.
Cropping, bleed and colour
Three details catch people out. The first is cropping: if you plan to cut a square file into a wide banner, you lose pixels and print size with them. Buy one level higher than the arithmetic suggests whenever a crop is likely.
The second is bleed. Printers trim paper with a tolerance, so artwork usually extends three millimetres past the final edge to avoid a white sliver. Our images run to the edge already, which means the bleed only matters if you add type or a frame on top.
The third is colour. Our files are sRGB because that is what screens understand. A printer will convert them to CMYK, and some of the most saturated greens and blues simply do not exist in ink. Expect a calmer print than the preview, not a broken one, and ask for a proof on anything important.
A checklist before you send the file to the printer
- Measure the finished piece, not the paper sheet.
- Divide the pixel count by the ppi the printer asks for, and compare with your measurement.
- Add 10 percent of headroom if any cropping is planned.
- Keep the file as JPEG at the highest quality when the printer has no preference.
- Ask for a proof when colour accuracy matters more than speed.
None of this makes printing difficult. It only makes it deliberate. Once the division is done, the choice between a screen file and a print file is obvious, and the catalogue becomes easier to read: eight collections, five sizes each, one decision about density.
This article is licensed CC BY-SA 4.0. Images in it are not covered by that licence; they are sold under our own terms.